Astronomy has always been one of my favorite sciences! I loved learning the names of the constellations and being able to point them out in the night sky. I love that I can now open an app on my phone and point it all around to learn the names of the stars I can see, and to be able to search to see where some of my favorite stars and constellations are, which places in the world are able to see them when I cannot.
The coolest characteristic of this solar system mobile, the thing I think sets it apart from the rest, is seeing the visual of the planets’ axial tilts! I also love that this particular mobile allows for the entire structure to spin freely, without any parts getting “wound up”. Using white cardstock, thread, a wooden dowel, and a few other bits and bobs, this sculpture is fun, educational, and elegant.
BEFORE CLASS
This class had a pretty large registration, and the students’ ages varied quite a bit. I wanted the students to spend the bulk of the class time learning about the characteristics of the planets, and being able to explore some different mediums to design their surfaces, if they wanted to experiment. In order to facilitate this focus, I prepped the dowels and cut the cardstock ahead of class.
In the celestial symphony, each planet and star plays a note, creating a melody that resonates with the curiosity of young stargazers.
– Carl Sagan
Dowel Prep
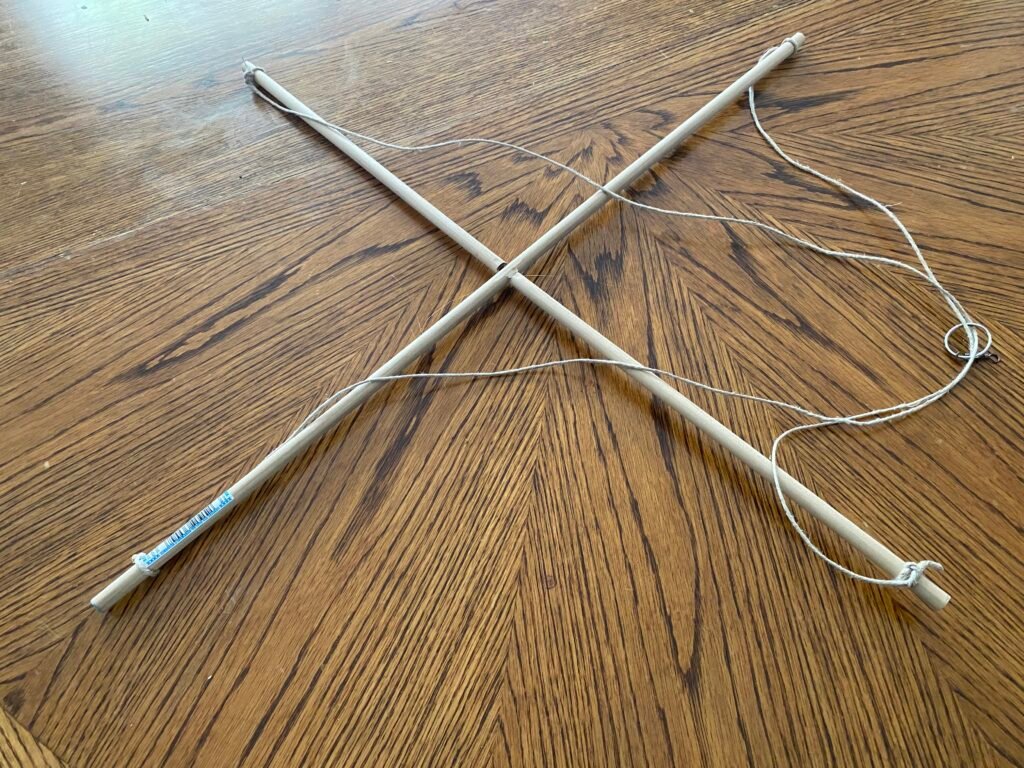
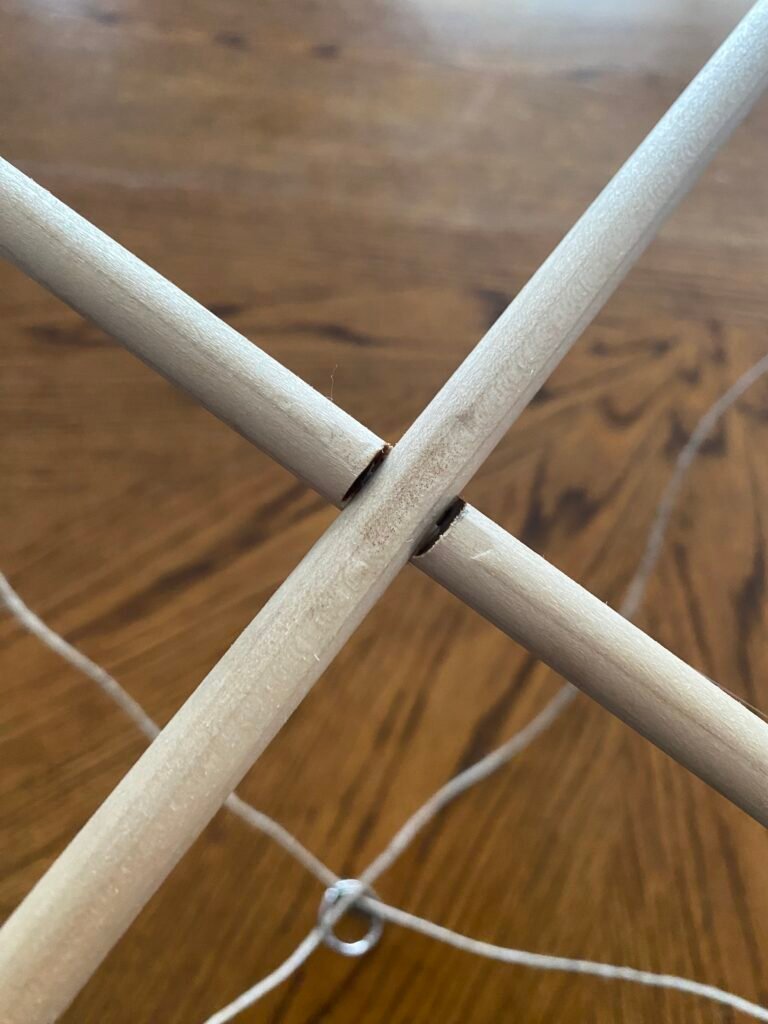
I wanted the mobile to have a clean look, for the planets to be the undisputed focal-point star-of-the-show. To achieve that, I decided that the dowels had to crisscross cleanly in the middle, for them to lay flat at the intersection and for each arm of the X to be the same length and on the same plane.

First, I used a small miter box and X-Acto saw to cut the dowels in half without losing much of the material to sawdust, or needing to sand the edges much. I used these 0.375-in dia x 48-in L round poplar dowels, so the mobile would wind up having two 2-foot-long axes. Next, I used a dremel with a rotary burr bit to cut small notches at the halfway mark on each of the arms, so they fit together, kind of like Lincoln Logs. I applied a healthy amount of wood glue to the notches, and used clamps to hold the pieces together until the glue dried.

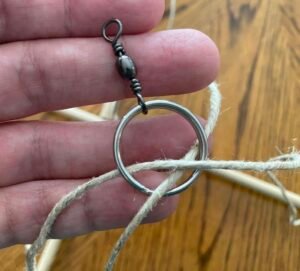
I also wanted the mobile to be able to spin freely, without the strings getting twisted or wound up. I attached a fishing swivel to a basic keyring, and threaded two 3-foot lengths of thin jute cord through the keyring. Then, I tied the cord to the ends of the dowels, making sure the cords stayed the same length so that the mobile would hang evenly.

Cardstock Prep
Although it’s nearly impossible to accurately reproduce the relative sizes of the planets (if we gave Mercury only a 1 inch diameter, the sun would then need to be 33 feet in diameter!), we can still make the planets different sizes, and get an idea of the order of the planets from smallest to largest.
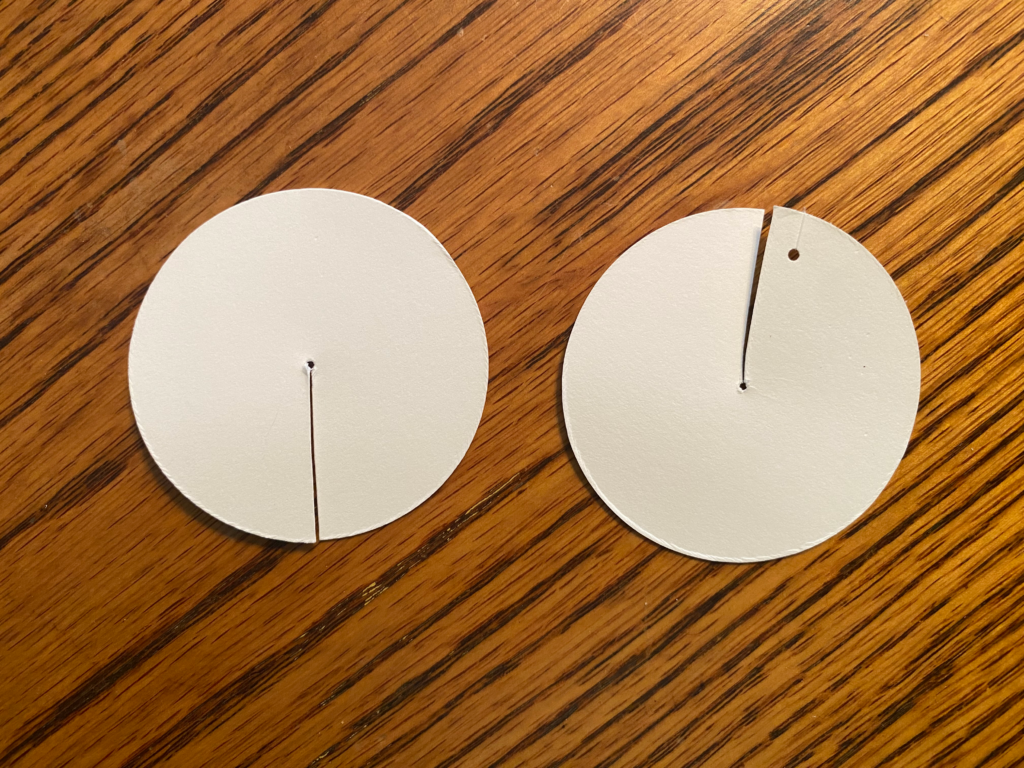
I used the measurements on the table below to cut discs (2 each per Solar System body, since these are going to be slotted together to make 3D shapes!) out of white cardstock with a circle cutter on top of a self-healing cutting mat.

The circle cutter has a built-in ruler to make measuring the size of the circles a breeze, and a little removable padded foot which protects a sharp center-point tack. I wound up removing the padded foot, and used the tiny hole that poked through the center of the discs to measure the radius, then cut a slot along that radius using a ruler and X-Acto knife.
| Solar System body | Cardboard disc diameter (cm) |
|---|---|
| Sun | 15 |
| Saturn's rings | 15 |
| Jupiter | 12 |
| Saturn | 10 |
| Uranus | 8.5 |
| Neptune | 8.5 |
| Venus | 7 |
| Earth | 7 |
| Mars | 7 |
| Mercury | 5 |
If my class were smaller in size and made up of only upper-level elementary students and older, I would have stopped my cardstock prep here, and let my students do the rest on their own. But since my class had a lot of younger students as well, I decided to prep the rest myself. I provided protractors for the students at class so they could measure the angles themselves, too.
Next, using a protractor, I measured the axial tilt of each planet from the radius line that I previously cut, and punched a hole with a 1/16″ hole punch, about 1/4″ from the edge of the disc.

| Solar System body | Estimated Axial Tilt (degrees) |
|---|---|
| Sun | 7 | Jupiter | 3 |
| Saturn | 27 |
| Uranus | 82 |
| Neptune | 28 |
| Venus | 3 |
| Earth | 23 |
| Mars | 25 |
| Mercury | 0 |
I then slotted the two discs for each planet together, cut some basic white sewing thread into ~8″ lengths, threaded those through the holes I punched in the planets, and organized them into envelopes so that I could easily identify and hand them out during class.
CLASS TIME!
Where Are We?
To start class, I asked the students “where are we?” and let them answer freely. Then I asked “where are we?” again while showing them a printout map of our state, a printout map of the United States, and a small globe.
Rotation vs. Orbit
I set up a small oval circuit of wooden toy train tracks encircling a small yellow ball. We discussed the difference between a rotation and an orbit. We took turns spinning the globe and talking about what one rotation of the Earth means and how long an Earth day lasts. We drove the globe on top of a train car around the track, and discussed what one orbit of the Earth means, and how long an Earth year lasts, making a special note of why days last longer and are hotter in summer and why they are shorter and colder in winter.
Solar System Walk
Then, the students went on a Solar System walk. Ahead of class, I taped labels with the names of the planets to bamboo garden stakes. I handed them out to student volunteers, and we counted our paces and “dropped the planets off” along the way. I had the students take a look around at how far they were from their classmates to get a sense of the scale of the planets distances from one another. I then had the students guess what the sizes of the celestial bodies would be with the scale we used.
Mnemonic and Sorting Game
Similarly to the color wheel class, when students were introduced to Roy G. Biv to help remember the names and order of the colors of the rainbow, I taught a mnemonic to help instill the names and order of the planets: “My Very Energetic Mother Just Served Us Nachos!”
I also prepared a poster board with printed labels at the top of two columns, for “Terrestrial Planets” and “Gas Giant Planets”, and printed and cut out the names of each planet, for the kids to stick on the board under the corresponding category. At this point, I asked the students what they thought defined a planet, which segued into a conversation about why Pluto was recently demoted to a dwarf planet.
Making the Mobiles
I handed out the discs for each solar system body to my students one at a time, and walked through class with picture books such as this one, opened to the corresponding solar system body page. I also printed out this article, which does a great job of describing the surfaces of the planets. For mediums, I provided crayons, markers, watercolors, and oil pastels for the kids to experiment with. I also handed out printouts of this Solar System packet (and had some extras for younger siblings that were in attendance to work on). The students colored in the sun and planets, as I read some fun facts and had a discussion about the celestial body they were working on.
On a table off to the side of the class space, I set up a curiosity station with additional books such as The Magic School Bus: Lost in the Solar System, and displayed a variety of related printouts such as this Orbital Plane Infographic from National Geographic and this Solar System to Scale from NASA.
Alexander Calder
The art history I incorporate into this lesson is a focus on Alexander Calder, an artist known for sculpting innovative mobiles. On the curiosity table, I display books and printouts of his works, including QR codes linking to videos of his sculptures. Books I have on display include:
- Sandy’s Circus: A Story About Alexander Calder
- The Calder Game
- 13 American Artists Children Should Know
- Calder’s Universe
3D Solar System Mobile Class Playlist
I love incorporating music into my classes! Sometimes the playlist is only for me, and I listen to the playlist by myself, while I’m lesson planning and writing and designing the class materials. Sometimes, I bring a speaker to class and the whole class listens!
I played this playlist for the whole class to enjoy.
